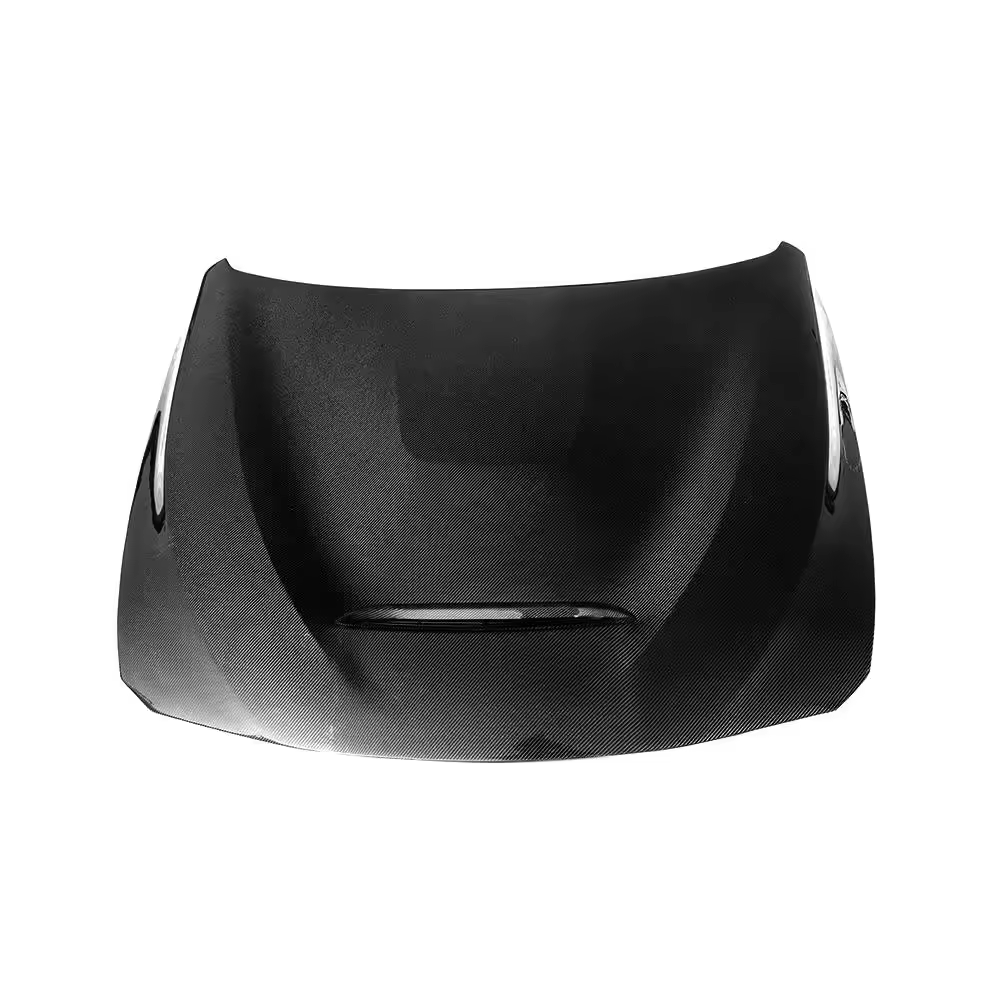
Detailed Explanation of the Installation Process of Carbon Fiber Engine Hood
2024
Carbon fiber engine hood is a common upgrade in car modification, which not only reduces vehicle weight but also provides better appearance and performance. When installing the carbon fiber engine hood, it is necessary to operate with caution and follow the correct steps. The following will provide a detailed introduction to each step and provide some practical installation precautions and techniques.
Step 1: Preparation work
Before starting the installation, ensure that the following preparations are made:
- Check if the engine hood is intact: Ensure that the carbon fiber engine hood is not damaged or defective.
- Cleaning work area: Thoroughly clean the engine hood installation area of the vehicle, ensuring that the surface is free of dust, grease, or other debris.
- Prepare all tools and materials: Prepare the necessary tools, such as wrenches, screwdrivers, etc., as well as any auxiliary materials that may be needed during installation, such as sealant or waterproof glue.

Step 2: Remove the original hood
- Open the hood: Use the hood pull rod or manually open the hood to ensure easy access to the underside of the hood.
- Disassemble the original engine hood: Use appropriate tools, such as a wrench or screwdriver, to disassemble the original engine hood and carefully remove it from the vehicle.
- Cleaning the installation area: Remove any residue or old sealant around the installation area to ensure that the new hood can be installed smoothly and achieve good sealing effect.
Step 3: Install a new carbon fiber engine hood
- Positioning the new engine hood: Carefully place the new carbon fiber engine hood on the installation area and ensure its position and alignment are correct.
- Fixed engine hood: According to the installation guidelines or recommendations provided by the vehicle manufacturer, use appropriate fasteners to install the new engine hood onto the vehicle. This may involve installing screws, nuts, or other fixing components.
Adjust position: Ensure that the position and alignment of the engine hood after installation are accurate to avoid any potential problems, such as incomplete sealing when closed.
Notes and Techniques
- Careful operation: Be careful throughout the entire installation process to avoid scratching or damaging the carbon fiber engine hood or vehicle surface.
- Strictly follow the instructions: Be sure to carefully read and follow the installation guidelines and instructions provided by the vehicle manufacturer and hood manufacturer to ensure a smooth installation process.
- Ensure sealing: When installing a new hood, pay special attention to ensuring the use of sealant or waterproof glue to prevent moisture from entering the engine compartment.
- Check fixing parts: After installation is completed, be sure to check all fixing parts and connecting components to ensure they are correctly installed and securely fixed.
- Testing Function: After completing the installation, perform a functional test to ensure that the hood can be fully opened and closed without any abnormalities.
By following the above steps and precautions, you can ensure the best results when installing the carbon fiber hood and provide your vehicle with superior appearance and performance upgrades.


 EN
EN
 AR
AR
 BG
BG
 HR
HR
 CS
CS
 DA
DA
 NL
NL
 FI
FI
 FR
FR
 DE
DE
 EL
EL
 HI
HI
 IT
IT
 JA
JA
 KO
KO
 NO
NO
 PL
PL
 PT
PT
 RO
RO
 RU
RU
 ES
ES
 SV
SV
 TL
TL
 ID
ID
 SR
SR
 SK
SK
 UK
UK
 VI
VI
 TH
TH
 TR
TR
 FA
FA
 AF
AF
 MS
MS
 GA
GA
 CY
CY
 IS
IS
 HY
HY
 AZ
AZ
 KA
KA
 MY
MY
 ONLINE