 EN
EN
 AR
AR
 BG
BG
 HR
HR
 CS
CS
 DA
DA
 NL
NL
 FI
FI
 FR
FR
 DE
DE
 EL
EL
 HI
HI
 IT
IT
 JA
JA
 KO
KO
 NO
NO
 PL
PL
 PT
PT
 RO
RO
 RU
RU
 ES
ES
 SV
SV
 TL
TL
 ID
ID
 SR
SR
 SK
SK
 UK
UK
 VI
VI
 TH
TH
 TR
TR
 FA
FA
 AF
AF
 MS
MS
 GA
GA
 CY
CY
 IS
IS
 HY
HY
 AZ
AZ
 KA
KA
 MY
MY
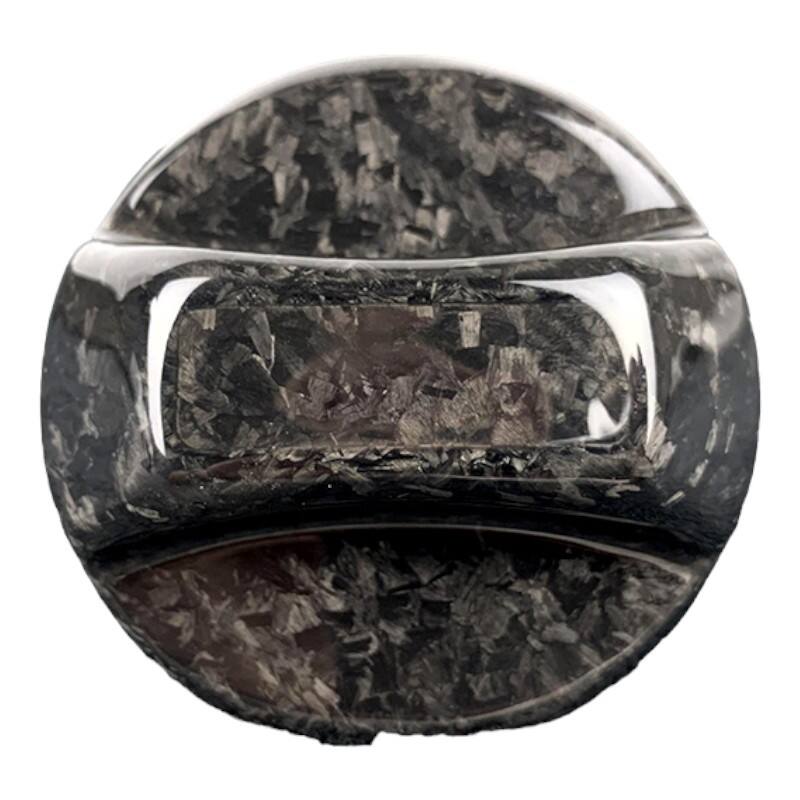
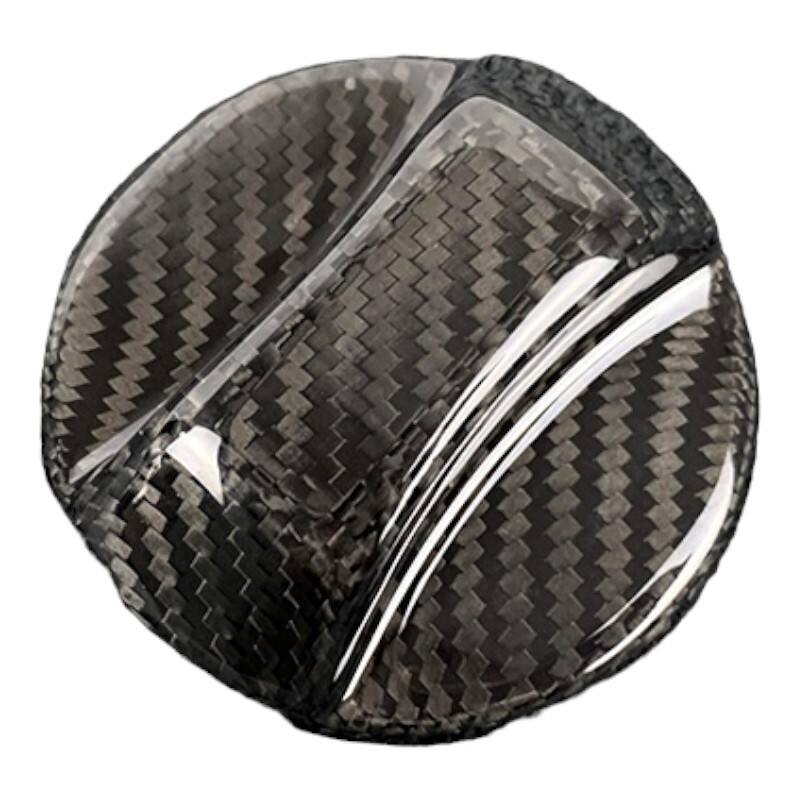
Installation Steps for Carbon Fiber Fuel Tank Cover
2024
Introduction:
Installing a carbon fiber fuel tank cover is not only about enhancing the aesthetic appeal of your vehicle but also ensuring its safety and functionality. In this guide, we'll provide a detailed overview of the installation steps for a carbon fiber fuel tank cover, ensuring a seamless process that combines both style and security.
1. Preparation:
Before beginning the installation process, gather all the necessary tools and materials, including the carbon fiber fuel tank cover, mounting hardware, screwdriver or socket wrench, and cleaning supplies. Ensure that the vehicle is parked on a flat surface and that the fuel tank is empty or has minimal fuel to prevent spills or accidents during the installation.
2. Removal of Old Cover (if applicable):
If your vehicle already has a fuel tank cover installed, start by carefully removing it. Use a screwdriver or socket wrench to loosen and remove any screws or bolts securing the old cover in place. Take note of how the old cover is attached and any specific mounting points that may need to be addressed during the installation of the new carbon fiber cover.
3. Cleaning and Preparation:
Thoroughly clean the area surrounding the fuel tank opening using a mild detergent or automotive cleaning solution. Remove any dirt, debris, or residue that may prevent the carbon fiber cover from adhering properly. Dry the area completely using a clean cloth or towel to ensure a smooth and secure installation surface.
4. Test Fitting:
Before attaching the carbon fiber fuel tank cover permanently, perform a test fitting to ensure proper alignment and fitment. Place the cover over the fuel tank opening and verify that it sits flush against the vehicle's body panels without any gaps or misalignments. Make any necessary adjustments to the mounting points or hardware to achieve the desired fit.
5. Mounting the Cover:
Once satisfied with the fitment, proceed to mount the carbon fiber fuel tank cover onto the vehicle. Use the provided mounting hardware, such as screws or bolts, to secure the cover in place. Be sure to tighten the hardware securely, but avoid over-tightening, which could damage the carbon fiber or vehicle body.
6. Final Inspection:
After mounting the fuel tank cover, conduct a final inspection to ensure everything is secure and properly installed. Check for any loose hardware, gaps, or misalignments that may compromise the integrity of the installation. Test the opening and closing of the fuel tank cover to ensure smooth operation without any obstructions or interference.
7. Optional Finishing Touches:
Depending on personal preference and the design of the carbon fiber fuel tank cover, you may choose to apply additional finishing touches, such as a clear coat or protective sealant, to enhance its durability and appearance. Follow the manufacturer's recommendations for any optional treatments or coatings to maintain the integrity of the carbon fiber and ensure long-lasting performance.
Conclusion:
By following these detailed installation steps, you can successfully install a carbon fiber fuel tank cover on your vehicle, enhancing its visual appeal while maintaining safety and functionality. Whether you're upgrading to a carbon fiber cover for its lightweight construction, durability, or aesthetic benefits, proper installation is key to achieving optimal results. Enjoy the sleek and stylish look of your new carbon fiber fuel tank cover, knowing that it has been securely installed to enhance both the form and function of your vehicle.
 ONLINE