 EN
EN
 AR
AR
 BG
BG
 HR
HR
 CS
CS
 DA
DA
 NL
NL
 FI
FI
 FR
FR
 DE
DE
 EL
EL
 HI
HI
 IT
IT
 JA
JA
 KO
KO
 NO
NO
 PL
PL
 PT
PT
 RO
RO
 RU
RU
 ES
ES
 SV
SV
 TL
TL
 ID
ID
 SR
SR
 SK
SK
 UK
UK
 VI
VI
 TH
TH
 TR
TR
 FA
FA
 AF
AF
 MS
MS
 GA
GA
 CY
CY
 IS
IS
 HY
HY
 AZ
AZ
 KA
KA
 MY
MY
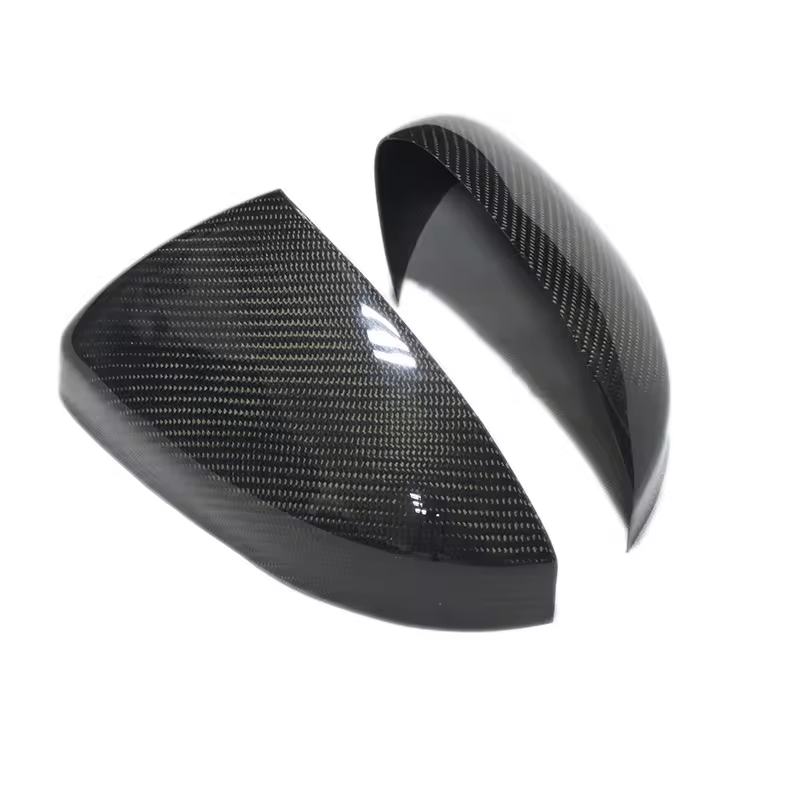
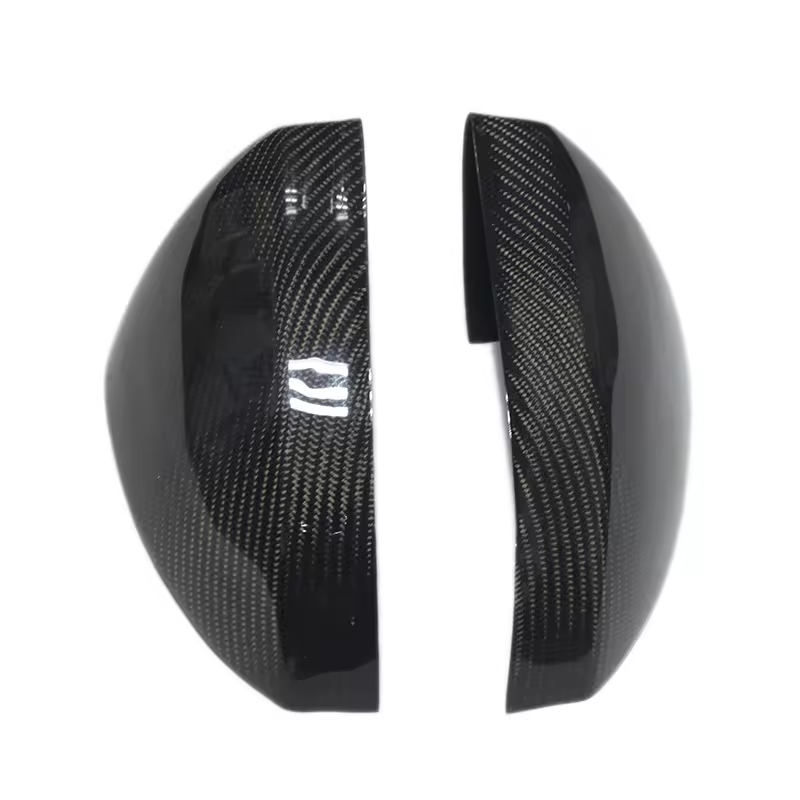
Installation Steps for Carbon Fiber Rearview Mirror Cover
2024
Carbon fiber rearview mirror covers are a popular modification among car enthusiasts, adding a touch of sportiness and style to the vehicle's exterior. Proper installation is crucial not only for aesthetics but also for ensuring durability and stability. In this guide, we'll walk through the detailed steps to install carbon fiber rearview mirror covers, guaranteeing a secure and attractive modification.
Step 1: Gather Tools and Materials
Before beginning the installation process, gather all the necessary tools and materials. You'll typically need the following:
1.Carbon fiber rearview mirror covers (ensure they are compatible with your vehicle)
2.Cleaning supplies (alcohol wipes or mild detergent and water)
3.Adhesion promoter (if provided with the mirror covers)
4.Double-sided automotive tape
5.Heat gun or hairdryer
6.Microfiber cloth
7.Painter's tape (optional)
Step 2: Prepare the Surface
Start by thoroughly cleaning the surface of the existing mirror housing with alcohol wipes or a mixture of mild detergent and water. Ensure that the surface is free of dirt, grease, and debris, as any contaminants can affect the adhesion of the mirror covers.
Step 3: Apply Adhesion Promoter (If Necessary)
Some carbon fiber mirror covers come with adhesion promoter to enhance bonding strength. If provided, follow the manufacturer's instructions to apply the adhesion promoter to the surface of the mirror housing. Allow it to dry completely before proceeding.
Step 4: Test Fit the Mirror Covers
Before removing the backing from the double-sided tape, carefully test fit the carbon fiber mirror covers over the existing mirror housing. Ensure that the covers align properly and sit flush against the surface. Make any necessary adjustments to ensure a perfect fit.
Step 5: Apply Double-Sided Tape
Once satisfied with the fitment, it's time to apply double-sided automotive tape to the backside of the carbon fiber mirror covers. Cut the tape to size and carefully place it along the edges and key areas of the covers, ensuring even coverage.
Step 6: Heat the Tape
Using a heat gun or hairdryer set to a moderate temperature, gently warm the double-sided tape on the back of the mirror covers. This helps activate the adhesive and ensures a strong bond with the mirror housing. Be cautious not to overheat the carbon fiber, as excessive heat can cause damage.
Step 7: Position and Press the Covers
Carefully position the carbon fiber mirror covers over the existing mirror housing, aligning them properly. Once in place, apply firm and even pressure to the covers, pressing them firmly against the mirror housing to ensure a secure bond.
Step 8: Final Touches
After installing both mirror covers, use a microfiber cloth to wipe away any fingerprints or smudges. Inspect the installation to ensure that the covers are securely attached and sit flush against the mirror housing. If necessary, use painter's tape to hold the covers in place while the adhesive sets.
Step 9: Allow Time to Cure
Allow the adhesive to cure fully according to the manufacturer's instructions before exposing the vehicle to harsh weather conditions or washing it. This typically involves letting the adhesive set for at least 24 hours.
With these detailed installation steps, you can confidently upgrade your vehicle with carbon fiber rearview mirror covers, achieving both a sleek appearance and long-lasting durability. Enjoy the enhanced aesthetics and personalized touch these modifications bring to your car's exterior.

 ONLINE