 EN
EN
 AR
AR
 BG
BG
 HR
HR
 CS
CS
 DA
DA
 NL
NL
 FI
FI
 FR
FR
 DE
DE
 EL
EL
 HI
HI
 IT
IT
 JA
JA
 KO
KO
 NO
NO
 PL
PL
 PT
PT
 RO
RO
 RU
RU
 ES
ES
 SV
SV
 TL
TL
 ID
ID
 SR
SR
 SK
SK
 UK
UK
 VI
VI
 TH
TH
 TR
TR
 FA
FA
 AF
AF
 MS
MS
 GA
GA
 CY
CY
 IS
IS
 HY
HY
 AZ
AZ
 KA
KA
 MY
MY
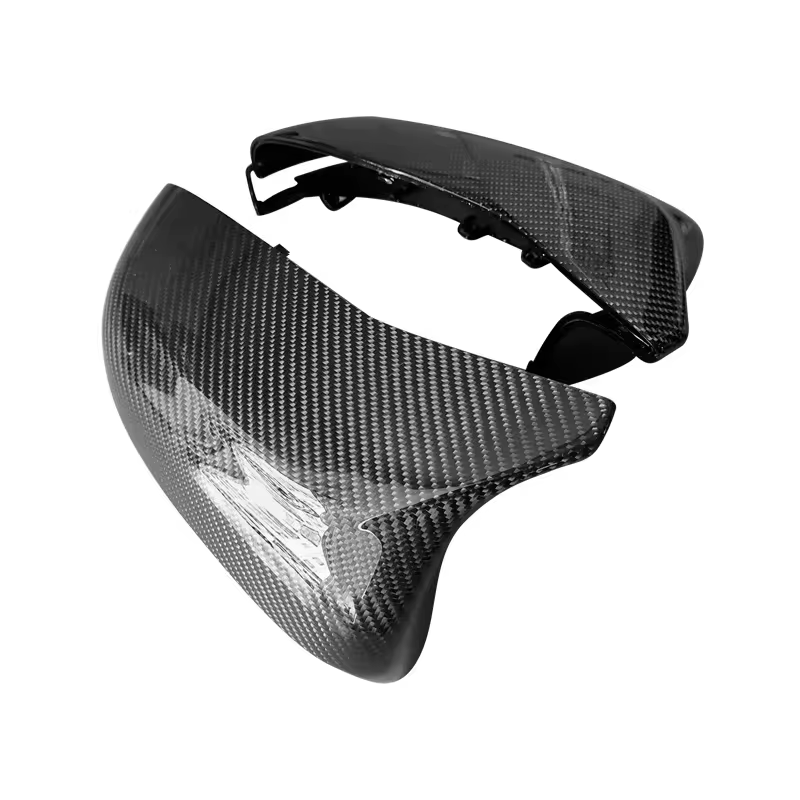
Installation Tutorial for Carbon Fiber Car Lampshade
2024
Introduction:
Carbon fiber car lampshades are becoming increasingly popular among automotive enthusiasts for their sleek appearance and lightweight properties. Installing these lampshades not only enhances the visual appeal of a vehicle but also adds a touch of sophistication. In this tutorial, we will guide you through the step-by-step process of installing carbon fiber car lampshades to elevate the visual aesthetics of your vehicle.
1. Preparation:
Before beginning the installation process, gather all the necessary tools and materials:
●Carbon fiber car lampshade kit
● Screwdriver set
● Cleaning solution and cloth
● Protective gloves
2. Removal of Existing Lampshades:
Start by removing the existing lampshades from your vehicle. This typically involves unscrewing any bolts or clips holding them in place. Use a screwdriver set to carefully remove any screws or fasteners without damaging the surrounding area.

3. Cleaning the Surface:
Once the old lampshades are removed, thoroughly clean the surface where the new carbon fiber lampshades will be installed. Use a cleaning solution and cloth to remove any dirt, grime, or residue. Ensure that the surface is completely dry before proceeding to the next step.
4. Test Fitment:
Before permanently installing the carbon fiber lampshades, perform a test fitment to ensure they align properly with the mounting points on your vehicle. Carefully place the lampshades in position and check for any misalignment or interference with other components.
5. Installation of Carbon Fiber Lampshades:
Once you are satisfied with the fitment, proceed with the installation of the carbon fiber lampshades. Follow these steps:
●Apply a small amount of adhesive or double-sided tape to the back of the lampshades.
6.Carefully position the lampshades onto the mounting points on your vehicle, ensuring they are aligned correctly.
● Press firmly on the lampshades to secure them in place. Apply gentle pressure for a few minutes to allow the adhesive to bond effectively.
6. Final Touches:
After installing the carbon fiber lampshades, take a final look to ensure they are securely attached and properly aligned. Clean any fingerprints or smudges from the surface of the lampshades using a soft cloth.
7. Test and Adjust:
Once the installation is complete, test the functionality of the lampshades to ensure they are working correctly. Turn on the vehicle's lights and verify that the carbon fiber lampshades illuminate as intended. Make any necessary adjustments to the positioning if needed.
8. Enjoy the Enhanced Visual Appeal:
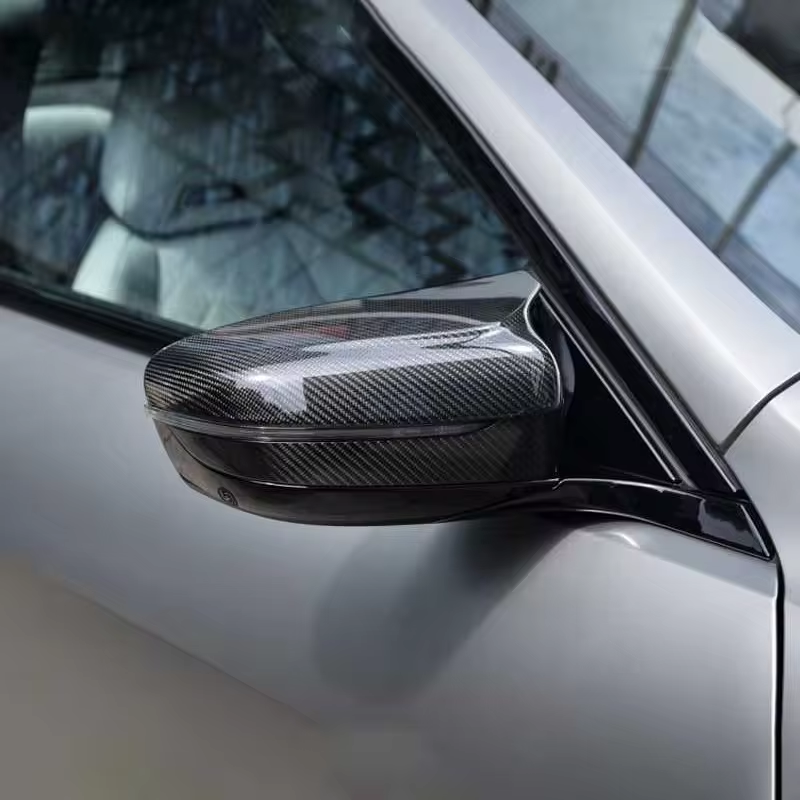
With the carbon fiber car lampshades successfully installed, take a moment to admire the enhanced visual appeal they bring to your vehicle. The sleek and modern look of carbon fiber adds a touch of elegance and sophistication, elevating the overall aesthetic of your car.
Conclusion:
Installing carbon fiber car lampshades is a relatively straightforward process that can be completed with basic tools and materials. By following this step-by-step tutorial, you can enhance the visual aesthetics of your vehicle and showcase your appreciation for high-quality automotive accessories. Whether you're looking to upgrade the appearance of your car or simply add a personalized touch, carbon fiber lampshades are sure to make a statement on the road.
By following these instructions, you can confidently install carbon fiber car lampshades and enjoy the visual enhancement they bring to your vehicle.
 ONLINE